This week I want to share some tips that I found helpful when I recently did a focal wall in peel and stick wallpaper. It made an amazing transformation to our living area, and just with my posts on book reviews, and gardening tips, I like to share good things.
Years ago, I got the idea from a YouTuber about taking fake wood flooring and applying it to a wall. I have loved the rustic appearance, but as in all things your tastes change over time and you see new, and better ideas. And of course, you want to implement them.
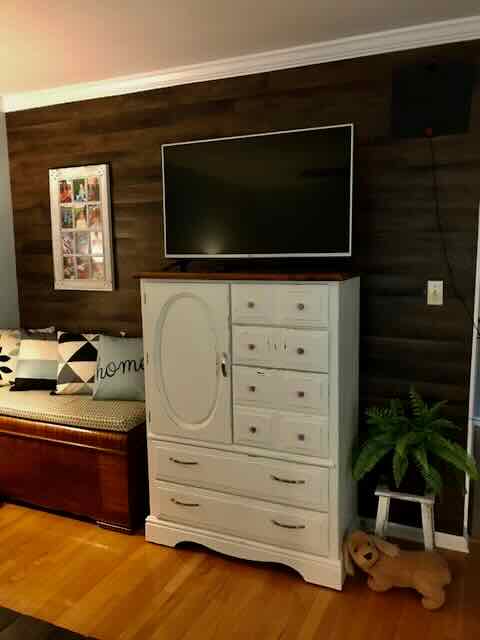
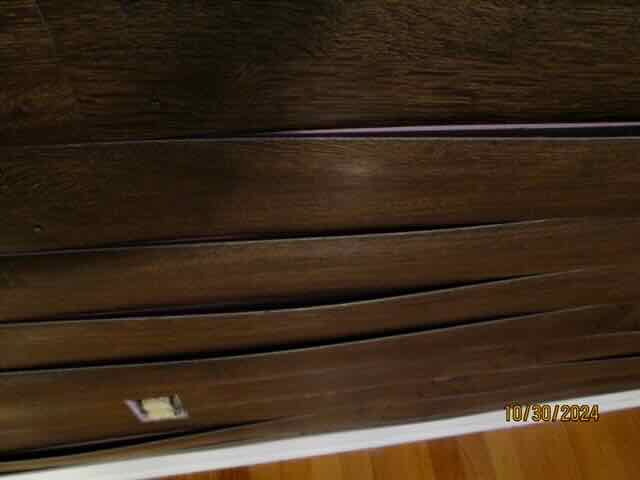
Not only that, but things don’t hold up over time. The flooring was a peel and stick vinyl that wasn’t sticking anymore. Add to that, I never painted that wall before applying the flooring and as the “wood” bowed out, you could see the purple color of the original wall behind it. I didn’t want to add more tacks, because I knew eventually I would have to fill the holes in, so thus was born the idea of changing to wallpaper.
Here are the hacks that were helpful to me:
HACK ONE
Primer — Prepare your wall. I not only had to fill in all the tack holes, but taking off the sticky flooring in some areas pulled off big hunks of sheetrock. Yikes! After spackling, I applied this primer and it was wonderful for smoothing out the imperfections. Plus it made the wallpaper stick better.
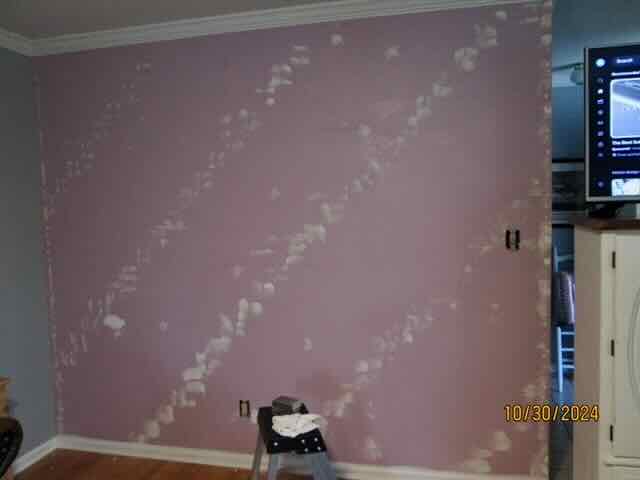
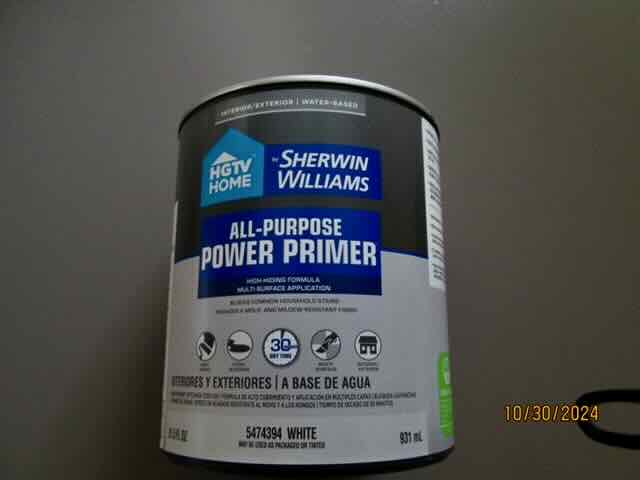
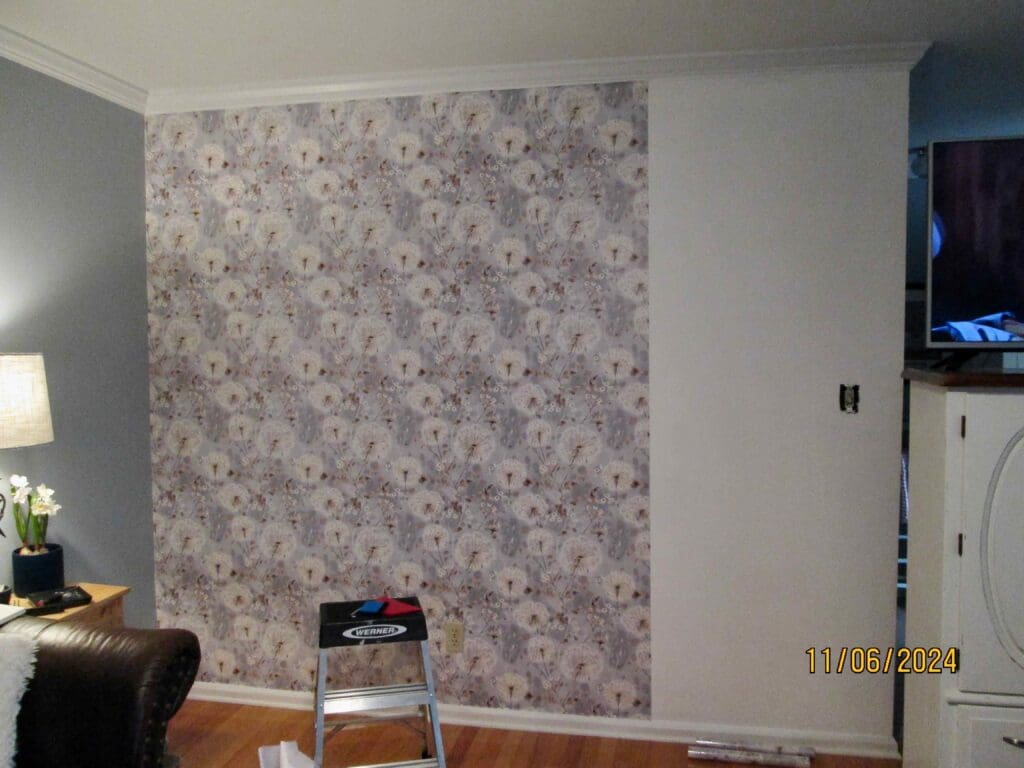
The wall in progress with the primer.
HACK TWO
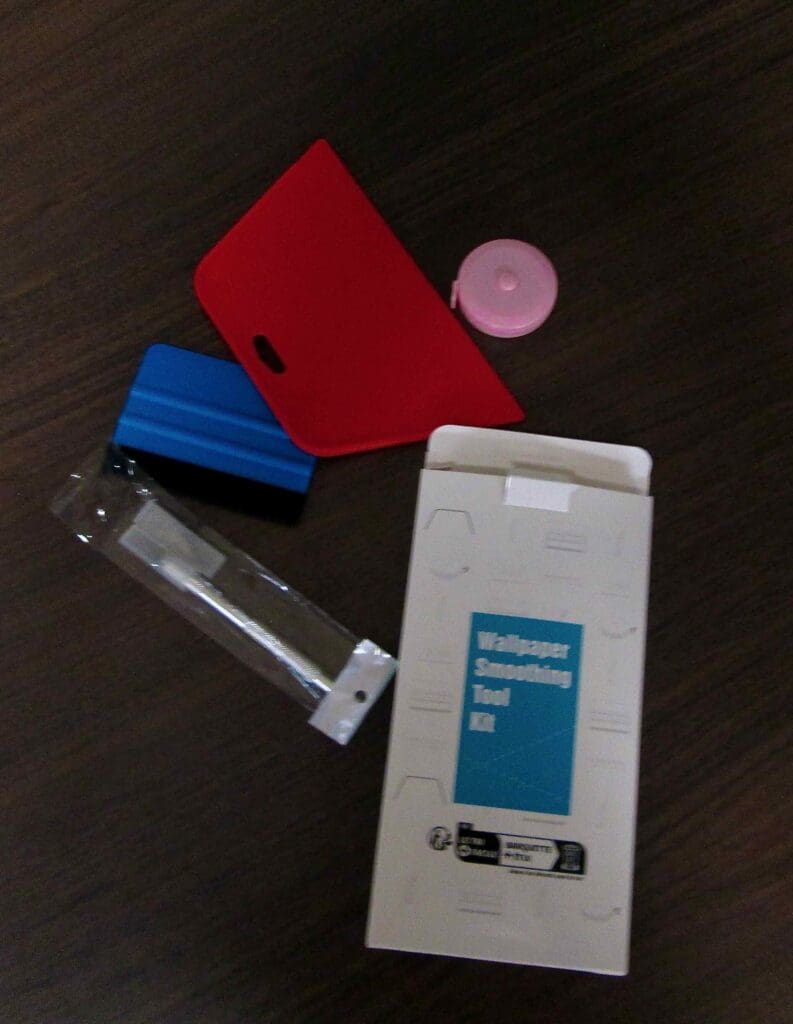
Amazon wallpaper kit — This kit made all the difference. Some wallpaper can tear easily and some can stretch as you smooth it out. The blue padded smoother was absolutely genius for using to gently smooth out the paper, and the cutting tool that comes with it, helps make clean cuts as you glide it along the moulding to cut off excess paper.
HACK THREE
A hair dryer — Yes, you heard that right! I saw this hack on several YouTube channels. The hair dryer smooths out wrinkles without you having to peel off and re-stick the wallpaper. Directing that heat on the wrinkle, then using the blue smoothing tool looked like a magic eraser as the wrinkles would disappear. It was exciting to watch what areas it could correct.
HACK FOUR
Toothpaste — And my final tip that I learned from YouTube… When you need to hang pictures back up on the fresh wallpaper, you don’t want to mess up and make extra holes or tear the paper. So here comes the toothpaste. Put small blobs of toothpaste on each hanger on the back of your picture. Place a level on top of the picture. Move it slowly to the wall making sure your level holds the level position. Press the picture against the wall. When you remove it, you have two spots of toothpaste lined up to tack your picture hangers into. If you mess up, just wipe off the toothpaste blobs and start again. This will keep your wallpaper pristine with no tears.
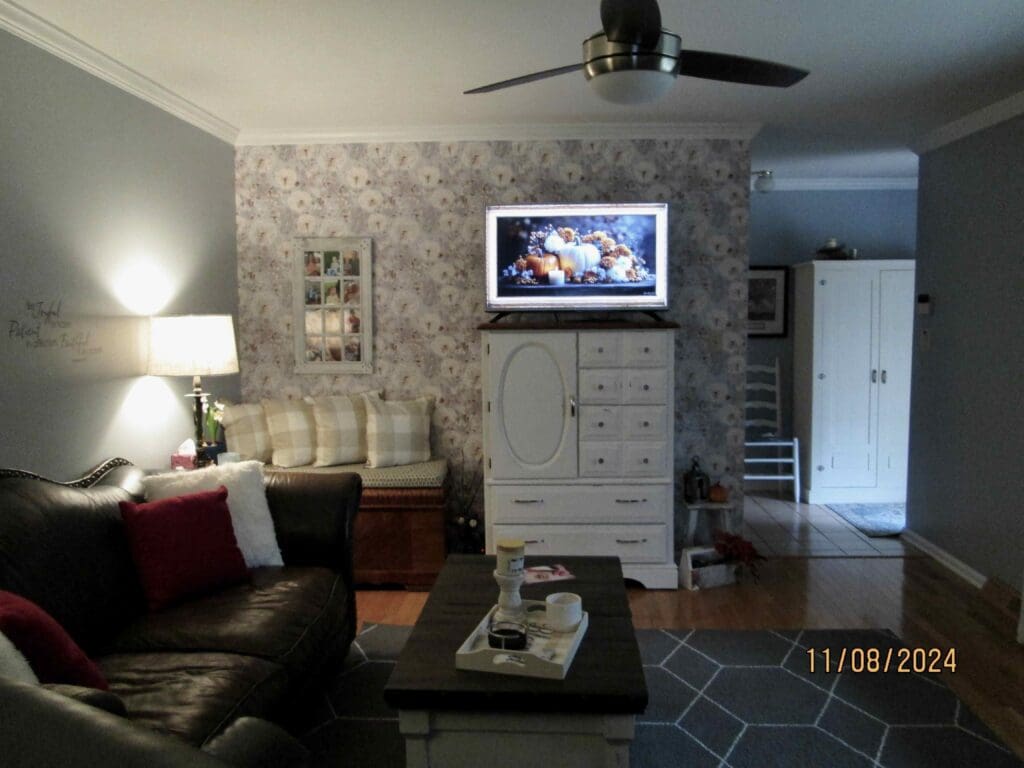
I would encourage everyone to make a focal wall in some room of your home. It is fun and easy with these hacks.
** “Whatever you do, work heartily, as for the Lord and not for men, knowing that from the Lord you will receive the inheritance as your reward. You are serving the Lord Christ.” Colossians 3:23-24 (ESV)

Great job, Jane! Useful hacks.
Thanks, Tim.
Thanks for the great info, Jane. The room looks wonderful. 🙂
Thanks for the encouragement, Joni:)